So like I said before I love creating. Whether you're a life long crafter or you are not all that great and you dabble every once in a while you still understand the great feeling you get when you finish a project. There is a bonus feeling if the project turns out like you wanted or better than you expected. I love seeing how a project starts out with the materials laid out and then watching them transform step by step into something that you're proud of and other people love as well.

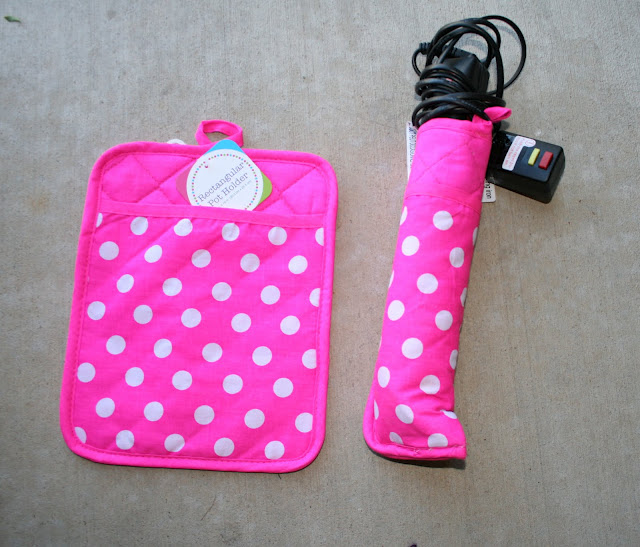
My bestie, Amanda, wanted me to make her something but she wasn't sure what exactly, so she started thinking about it and saw a DIY flat iron case and asked if it was something I could do. This was the case -------------------------------------------------------------------->
This easy DIY project was created by Jamie, on
Creative Juices. This is pretty simple to do and materials are cheap but since I love my bestie I wanted to make her a really great useful case. So I set to work brainstorming and browsing the web to see what features I could add into a compact case to make it awesome! Then I set to work.
I mapped out some measurements and gathered the materials I needed and set to work. The process begins...( the pictures with the purple fabric is not the one I made for my bestie, I completely forgot to take pictures of the process of when making it, but I show hers at the end)
I cut out all the pieces of fabric and Insul Bright I needed. Got a light gray package of double fold bias and matching thread.
***Insul Bright is a padded insulation for heat that is also used in oven mitts and pot holders.
With the pieces I cut out I started attaching them to make them into a great case. Insul Bright is sandwiched between two pieces of fabric for the body, and two pieces of fabric for the pouch that holds the flat iron. An elastic tie is attached to the pouch for clean cord storage. (I think this will help the flat iron last longer since wrapping the cord around the iron can cause wire shortage.) I added a long pocket at the top to hold random items such as a comb, hair ties/clips, and hair cutting shears. I attached some bias tape to the pouch and the pocket to make it look pretty.
I added some handles for easy carrying and some snap buttons for simple open and closure. I sewed bias tape all the way around pulling the look together and to make a very cute, useful case!
This purple case was made for someone else and I remembered to take pictures while I was in the process of making it. I made a cute pink and yellow case for my bestie which is pictured below.
If you are interested in owning one of these cases then good news you can! You can order these cases in the fabric pattern and trim of your choice. Visit me on my Facebook at
Love Me Sew By Navarro. Check out my "Flat Iron Case" and "Fabric Choices" albums and send me a message to place an order!


